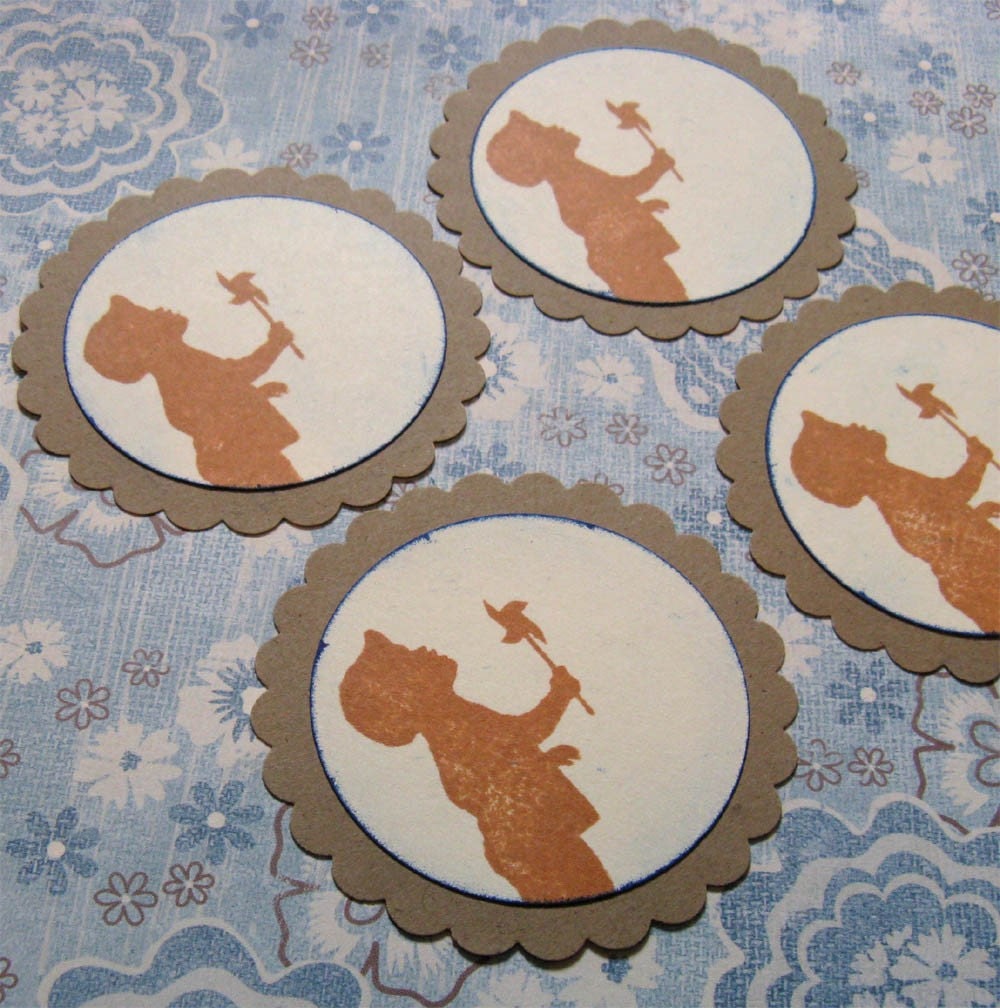
Stamps & Stamping Tips
One of my favourite crafting techniques (as you can see by looking through my tags) is rubber stamping! Actually, I've been using clear stamps A LOT more often over the past few months. They're so much easier to place on the paper and a lot easier to store too. I'll never give up on my rubber stamps (I love them too much!), but clear stamps are getting better and better (and cheaper & cheaper!) so they are definitely a good option. I've put together a short list of tips & techniques that I've found useful...and maybe you will too.
- Have your clear stamps lost their cling? Just fill a bowl with water and a bit of soap and swish the stamps around for a few seconds. Dry them off (or let them air dry) and they'll be good as new! Keep your acrylic blocks clean too and you'll never get frustrated with stamps that fall off or don't stay where they're supposed to.
- If you don't like waiting too long for your ink to dry (and I don't!), try to use dye-based or fluid chalk ink more often. These inks dry REALLY quickly and have great effects. Dye-based inks usually have a distressed-look while fluid chalk inks dry with a nice chalky, matte-finish.
- I wouldn't bother investing in those pricey stamp cleaner products. A damp paper towel (I usually double them up) is all I use. After stamping an image, I press the stamp down a few times on the paper towel and I'm done! I've used baby wipes before to clean really ink-y stamps. Usually after buying them used.
- When buying a new ink pad, look for an ink pad that has a raised surface or can be separated into smaller ink pads. Otherwise, you won't be able to fit a larger stamp on the pad.
- Ink pads can last a long time - just remember to keep them covered while not in use. If your ink pad has dried out a bit, just spray a fine mist of water on it. Should be fine!
- Don't rock your stamp back and forth on the ink pad. A few quick "taps" should adequately cover the stamp. Another benefit of dye-based ink - you usually only need 1 or 2 taps and your stamp will be nicely covered!
- No rocking while you're stamping your image either! Your lines will be blurry. Just hold the stamp down and apply even pressure. Then, lift the stamp straight up while holding down your paper.
- Buy good-quality ink. Cheap ink just doesn't cut it for me.
Did I miss anything? Leave a comment & let me know! I'm always interested in learning new stamping tips or tricks.
Blog Design by Nudge Media Design | Powered by Blogger


I love the tips about getting the clear stamps to cling and using a spray of water to recharge my ink pad. Thanks for a great post.
ReplyDeleteGreat tips! Thanks Jess :)
ReplyDeleteI've been thinking about using stamps for some fabric designs...
Can I ask...where did you find the best clear stamps?
xxx Lauren
Hi Lauren! Most of my stamps were bought at Michael's. Also bought a few sets through Etsy. It's hard to go wrong with clear stamps. I've never tried stamping on fabric though - good luck with your project! Let me know how it goes.
ReplyDelete